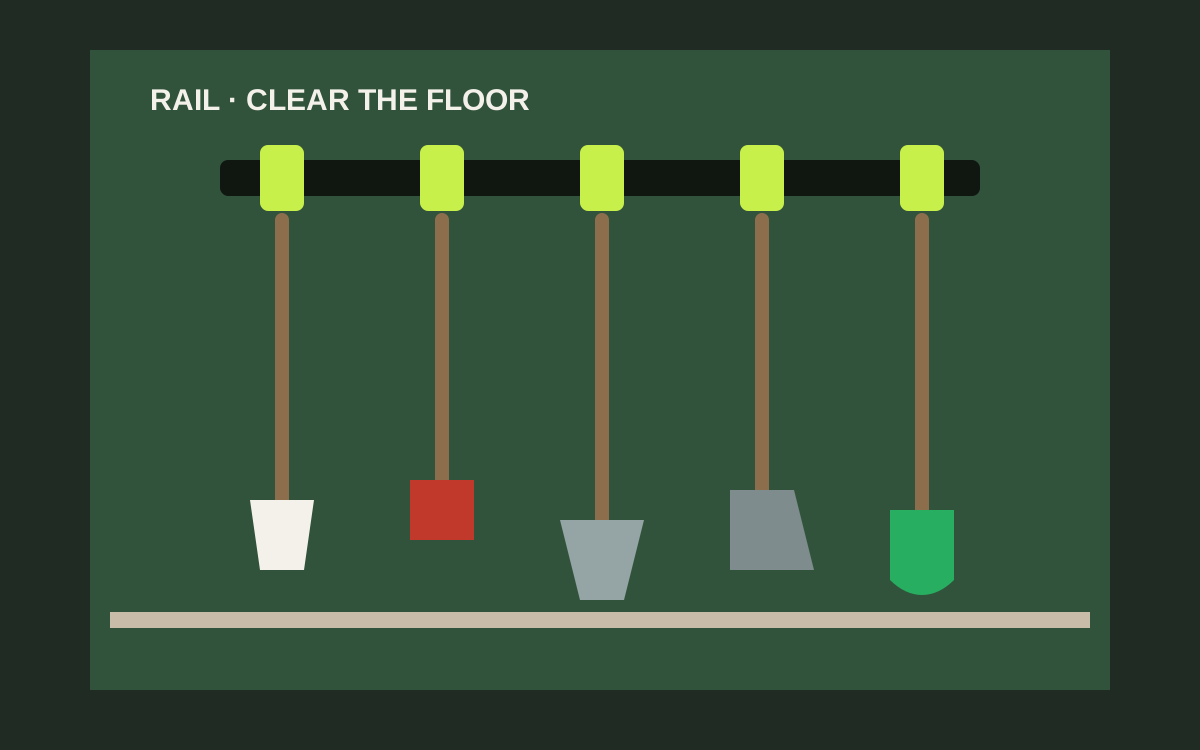
Hang brooms and garden tools on a stud-mounted hook rail or grip clips that catch handles securely, with heads clear of the floor and aisles. Under $50, a short multi-hook rail usually clears more clutter than a handful of random nails and keeps long tools from becoming trip hazards.
Shop broom and garden tool hangers on Amazon
Who this is for
- Homeowners reclaiming floor space from brooms, rakes, and shovels
- DIYers installing a first under-$50 tool rail on studs
- Anyone comparing a hook rail with individual heavy-duty hooks for yard tools
What you need
- Multi-hook rail, grip clips, or stout individual hooks under $50
- Stud finder, tape measure, pencil, and level
- Drill/driver and bits matched to the supplied screws
- Painter’s tape to mock tool spacing on the wall
- Your tallest rake or broom for a live clearance check
Quick answer
Hang brooms and garden tools on a stud-mounted hook rail or grip clips that catch handles securely, with heads clear of the floor and aisles. Under $50, a short multi-hook rail usually clears more clutter than a handful of random nails and keeps long tools from becoming trip hazards.
Quick comparison
| Hang method | Best for | Typical price band | Why it works |
|---|---|---|---|
| Multi-hook / grip rail | Mixed brooms and yard tools | Usually $15-$35 | Best under-$50 default |
| Individual heavy-duty hooks | One or two odd long tools | Usually $8-$20 | Good on awkward studs |
| Adhesive broom grippers | One light indoor broom | Usually $8-$18 | Limited in dusty garages |
| Freestanding tool rack | When wall mounting is impossible | Usually $25-$50 | Uses floor space instead |
What to look for
Catch the handle, support the head
Use grippers, spring clips, or deep hooks sized for round handles. Skinny nails let tools twist and fall.
Studs for awkward leverage
Long tools are levers when bumped. Prefer a rail screwed into studs over adhesive broom holders for a full set.
Spacing for heads and tines
Rake tines and shovel blades need more width than broom heads. Mock spacing before drilling.
Floor and door clearance
Hang high enough that heads clear splash and pets, low enough to lift without a ladder, and outside car-door arcs.
Before you mount
Gather every long handle
Brooms, mop, rake, shovel, hoe, and that one mystery tool. Count hooks with empty capacity left over.
Decide rail versus singles
Three or more tools favor a rail. One ladder-sized oddity may need its own heavy hook.
Pick the wall near the yard exit
Store tools on the path you actually take outdoors, not behind parked cars.
Hanging steps
- Lean tools against the wall in the planned order and adjust spacing so heads do not tangle.
- Locate studs and mark a level line at a height where handles hang and heads clear the floor.
- Hold the rail or hooks up with the tallest tool mocked in place; confirm door and bumper clearance.
- Mark screw holes, pre-drill into studs, and fasten the rail or hooks fully.
- Hang the heaviest shovel or rake first and bump the handle lightly. Watch for flex or pop-out.
- Add remaining tools, keeping tines and sharp edges pointed toward the wall or otherwise out of the aisle when possible.
- Optional: add a small coated hook at the end for gloves or a hand cultivator.
- Keep the floor under the rail clear so a dropped tool has a safe landing zone.
Safety and stud notes
Sharp edges
Hang blades and tines thoughtfully. A walkway at face height is the wrong home for a rake pointing outward.
Adhesive limits
A single indoor broom on a clean wall may tolerate adhesive grippers. A full garden set in a dusty garage wants screws into structure.
Seasonal mud
Wipe handles before hanging so grit does not grind through grip clips and jackets.
Mistakes to avoid
- Leaning rakes and shovels on the floor where they trip people and rust.
- Using décor adhesive hooks for a full set of yard tools.
- Spacing hooks so rake tines interlock into a knot.
- Mounting inside a car-door swing or behind a bumper-strike zone.
- Hanging so low that tool heads sit in splash, salt, or standing water.
Related guides
Browse the hub: Garage wall storage under $50 - all guides
Related hub: Apartment no-drill storage under $50 — only for a single light broom on adhesive grippers, not a full garden set.
- Hang Garden Tools Garage Wall
- Best No-Drill Adhesive Broom and Mop Holders for Garages Under $50
- Hook Rail vs Individual Hooks for Garage Walls Under $50
- How to Do a Fall Garage Cleanout with Wall Racks Under $50
- Best Pooper Scooper Wall Hooks Under $50 for Garage & Shed
FAQ
How do I hang brooms and garden tools under $50?
Install a stud-mounted multi-hook or grip rail, space for tool heads, load-test the heaviest tool, then hang the rest with edges pointed safely out of the aisle.
Are adhesive broom holders enough for a garage?
They can work for one light broom on a clean smooth wall. For mixed garden tools and dusty garages, screw-mounted rails or hooks are more reliable.
Should I use a rail or individual hooks?
Use a rail for three or more changing tools. Use individual heavy-duty hooks for one or two odd long tools or awkward stud layouts.
How high should garden tools hang?
High enough that heads clear floor splash and pets, low enough for a comfortable lift, and clear of car doors and walkway strikes.
Bottom line
Brooms and garden tools leave the floor when handles land on a real stud-mounted rail. Space for heads and tines, keep sharp edges out of the aisle, and skip adhesive for anything heavier than one light broom. Under $50, a short grip rail installed once usually beats years of leaning tools in a dangerous corner.