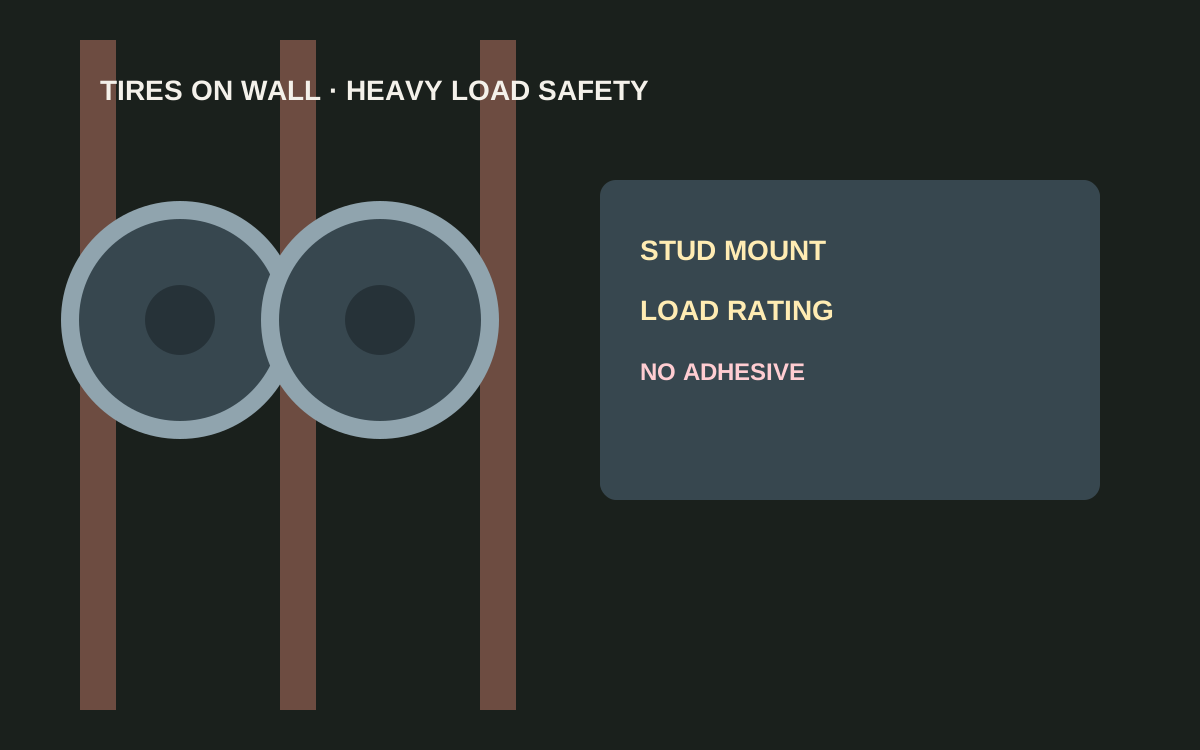
Passenger tires are dense, round, and unforgiving when a mount fails. Under $50, the honest way to store tires on a garage wall is to use hooks or racks with a published load rating above each tire’s real weight, screwed into wall studs (or a structural backer spanning studs) — never adhesive, never hollow drywall alone, and never a guess at capacity. Plan stud layout for each tire, keep drop paths clear of walkways and car doors, and bag or cover tires if you care about sidewall cleanliness. This how-to does not claim every under-$50 hook fits every tire.
Shop tire wall hooks and racks on Amazon
Who this is for
- Drivers rotating seasonal tires who need wall space under $50
- Small-garage owners reclaiming floor piles of rubber
- Anyone pairing tire hooks with winter/seasonal gear storage
Quick answer
Passenger tires are dense, round, and unforgiving when a mount fails. Under $50, the honest way to store tires on a garage wall is to use hooks or racks with a published load rating above each tire’s real weight, screwed into wall studs (or a structural backer spanning studs) — never adhesive, never hollow drywall alone, and never a guess at capacity. Plan stud layout for each tire, keep drop paths clear of walkways and car doors, and bag or cover tires if you care about sidewall cleanliness. This how-to does not claim every under-$50 hook fits every tire.
Quick comparison
| Format | Best for | Typical price band | Why it wins |
|---|---|---|---|
| Stud-mounted tire hooks (per tire) | Passenger tires within hook rating | Usually $15–$40 per hook/set | Best under-$50 wall default with verified load |
| Wall rack / dual-arm cradle | Paired tires on a backer | Usually $25–$50 | Spreads load across studs |
| Floor rack / stack (non-wall) | When ratings or studs are wrong | Usually under $50 | Honest fallback |
| Adhesive or hollow-wall only | Never for tires | — | Unsafe for this load class |
What to look for
Load rating first
Match each hanger’s stated working load to the tire’s actual weight with margin. Never infer a rating from “heavy duty” wording or a lifestyle photo.
Stud mounting is mandatory
Lag or screw into studs or a structural backer fastened to studs. Drywall anchors and adhesive are not a tire plan.
One tire, one rated hang (unless the rack says otherwise)
Do not stack unknown loads on a single undersized hook.
Clearance and drop path
Mount where a failure would not crush feet, pets, or a vehicle path. Keep the area below clear.
Step-by-step wall storage plan
1. Weigh or look up each tire’s weight
Include the wheel if mounted. The hanger’s published working load must exceed that with margin — if the listing is vague, skip it.
2. Map studs for every hang point
Use a stud finder, verify centers, and plan lags into solid wood (or a plywood backer spanning multiple studs). Metal studs and block need substrate-rated hardware — wood-stud hardware is the wrong fix.
3. Choose hooks or a rack built for tires
Prefer designs that cradle the tread or wheel without pinching sidewalls in a way the maker warns against. Reject adhesive kits.
4. Install, level, and proof carefully
Hang one tire first, settle it, inspect fasteners, then proceed. Never bounce-test over your feet. Cover or bag tires if you want cleaner seasonal swaps.
Where tire wall storage earns its place
Along a stud wall beside seasonal gear
Pairs with winter-tire and seasonal storage zones.
High enough for car-door clearance
Tires should not become door dingers.
Not above a primary walkway without belt-and-suspenders restraint
Drop path matters.
Safety rules you should not skip
Confirm load rating before purchase
No rating, no buy for wall hangs.
Reject adhesive and hollow-wall-only kits
Marketing language does not rewrite physics.
Mind tire size versus hook throat
An undersized hook lets a tire roll off.
Treat price bands as moving targets
Kits change with sales. Check the current weight ratings, dimensions, and price on the listing before you buy.
Mistakes to avoid
- Trusting adhesive hooks or hollow-wall anchors with tires.
- Ignoring the hanger’s load rating or inferring one from vague labels.
- Hanging two tires on a single undersized hook.
- Mounting over a walkway with no thought to drop path.
- Assuming light-looking summer tires are “light enough” to skip studs.
Related guides
Browse the hub: garage wall storage under $50 - all guides
- Best Winter Tire & Seasonal Gear Wall Storage Under $50
- Best Floor Jack Wall Hangers Under $50 for Garage
- Best Creeper Wall Hang Hooks Under $50 for Garage
FAQ
How do I store tires on a garage wall under $50?
Use tire hooks or racks with a clear load rating above each tire’s weight, mounted into studs or a stud-spanning backer — otherwise keep tires on a floor rack.
Can I use adhesive or Command-style hooks?
No. Tires are a heavy load class; adhesive and hollow-wall-only mounts are the wrong hardware.
How important is the load rating?
It is the primary filter. If the listing will not state a working load, do not guess.
Should seasonal tires hang or stay on a floor rack?
Either can work. Wall hangs need ratings and studs; floor racks are the honest fallback when the wall or hardware is wrong. See also our winter tire & seasonal gear guide.
Bottom line
Storing tires on a garage wall under $50 is a stud-and-rating problem first: verify working load per tire, mount into studs or a structural backer, keep the drop path clear, and skip adhesive entirely. If you cannot confirm ratings, use a floor rack. Confirm weights and capacities on the product page before you buy.