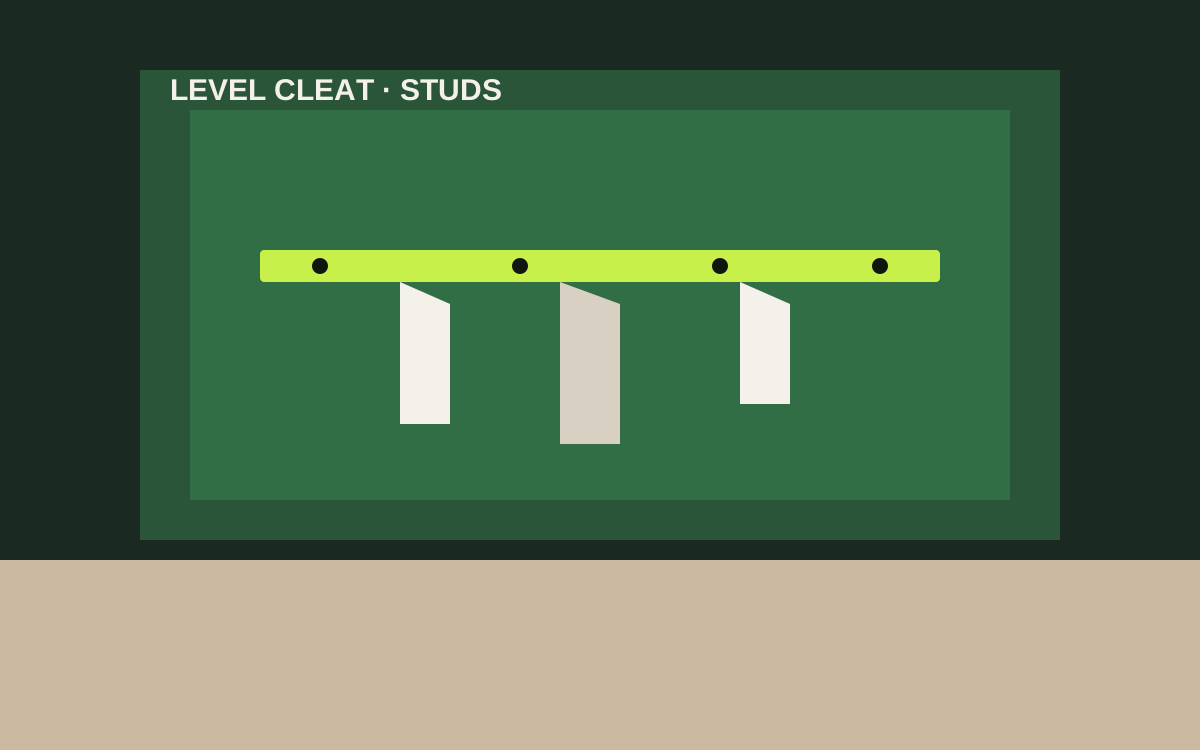
Mount a French cleat kit by fastening a level wall cleat into studs, confirming the bevel faces the correct direction, then load-testing the first hanger before filling the run. Under $50 buys a starter zone, not a finished shop — budget hangers on day one and leave empty cleat length to grow.
Shop French cleat kits on Amazon
Who this is for
- DIYers installing a first under-$50 French cleat starter kit
- Woodworkers who want a level wall cleat before building hangers
- Anyone comparing a short cleat run with pegboard or track rails
What you need
- French cleat kit or cleat blanks under $50 (include at least one hanger if the kit is bare)
- Stud finder, tape measure, pencil, and a reliable level
- Drill/driver, bits, and screws or lags suited to studs (or masonry hardware for block)
- Painter’s tape for layout lines
- A square for checking hanger registration (optional but helpful)
Quick answer
Mount a French cleat kit by fastening a level wall cleat into studs, confirming the bevel faces the correct direction, then load-testing the first hanger before filling the run. Under $50 buys a starter zone, not a finished shop — budget hangers on day one and leave empty cleat length to grow.
Quick comparison
| Approach | Best for | Typical price band | Why it works |
|---|---|---|---|
| Short stud-mounted cleat kit | First modular tool zone | Usually $25-$50 | Best under-$50 start |
| DIY cleat from lumber | Builders who own a saw | Usually materials vary | Cheaper if you make hangers |
| Cleat on existing French-cleat wall | Expanding a working system | Usually hangers vary | Add length, not a new system |
| Adhesive “cleat” strips | Not for real tool loads | Usually N/A | Skip for shelves and tools |
What to look for
Level is non-negotiable
An out-of-level wall cleat makes every hanger creep sideways. Take the extra minute with a real level.
Structure carries the system
Screw into studs or solid masonry at every major fastening point. Cleats on hollow drywall alone are a failure waiting for a heavy shelf.
Bevel orientation
The wall cleat’s bevel must mate with hanger cleats as designed. Dry-fit one hanger on the bench before you commit holes.
Starter length honesty
Under $50 usually means a short run plus a few hangers. Plan one busy zone instead of a half-empty dream wall.
Before you cut or drill
Inventory hangers
A bare cleat without hangers is not storage. Confirm the kit includes hangers or budget extras inside the $50 cap.
Choose the stud bay
Pick a wall clear of door swing where shelves and odd holders will not strike a car or walkway.
Dry-fit the bevel
Assemble one hanger on the wall cleat in your hands. Mark which edge faces up so you do not mount the cleat backwards.
Mounting steps
- Locate studs across the planned cleat length and mark centers at the intended height.
- Snap or pencil a level reference line longer than the cleat so you can see drift while fastening.
- Hold the wall cleat on the line with the bevel oriented correctly; mark every structural screw location.
- Pre-drill pilot holes into studs (or use proper masonry hardware on block).
- Fasten the cleat firmly. Recheck level after the first two screws and adjust before filling remaining holes.
- Hang the first cleat-mounted holder empty, then with a realistic load. Lift and reseat it to confirm lockup.
- Add remaining hangers only after the wall cleat feels solid and level under load.
- Leave empty cleat length for next month’s holder instead of crowding day one.
Safety and stud notes
Shelf loads
A cleat shelf full of paint or parts can exceed casual expectations. Use screws sized for the load and hit studs generously.
Wiring awareness
Avoid drilling into unknown cavities near outlets. Shift the cleat vertically if a stud bay conflicts with wiring you cannot verify.
Growth path
Add matching hangers over time. Mixing random scrap hangers with inconsistent bevels creates sticky, uneven lockup.
Mistakes to avoid
- Mounting the wall cleat out of level and fighting every hanger afterward.
- Relying on drywall anchors alone for a loaded cleat shelf.
- Installing a cleat with no hangers and calling the job done.
- Orienting the bevel backward so hangers will not seat.
- Expecting a $40 kit to finish an entire two-car garage wall.
Related guides
Browse the hub: Garage wall storage under $50 - all guides
- Best French Cleat Kits Under $50 for Garage Walls
- French Cleat vs Slatwall for Garage Tool Storage Under $50
- Pegboard vs French Cleat for Garage Walls: Which Under-$50 System Wins?
FAQ
How do I mount a French cleat kit under $50?
Level a wall cleat on studs with the bevel oriented correctly, fasten every structural hole, load-test the first hanger, then add holders gradually along empty cleat length.
Does a French cleat need to hit studs?
Yes for real tool and shelf loads. Treat drywall-only mounting as unacceptable for anything that can swing or stack weight.
Which way does the bevel face?
Follow your kit: typically the wall cleat presents an upward-facing ledge that nests with a downward hanger bevel. Dry-fit once before drilling.
Can I start with a short cleat and expand later?
Yes — that is the point. Leave empty length and add hangers as needs appear instead of overbuilding on day one.
Bottom line
A French cleat kit succeeds when the wall cleat is level, stud-fastened, and paired with real hangers. Under $50, build one honest starter zone, prove the first hanger under load, and grow along empty cleat length. Skip adhesive fantasies — modular strength starts with structure.