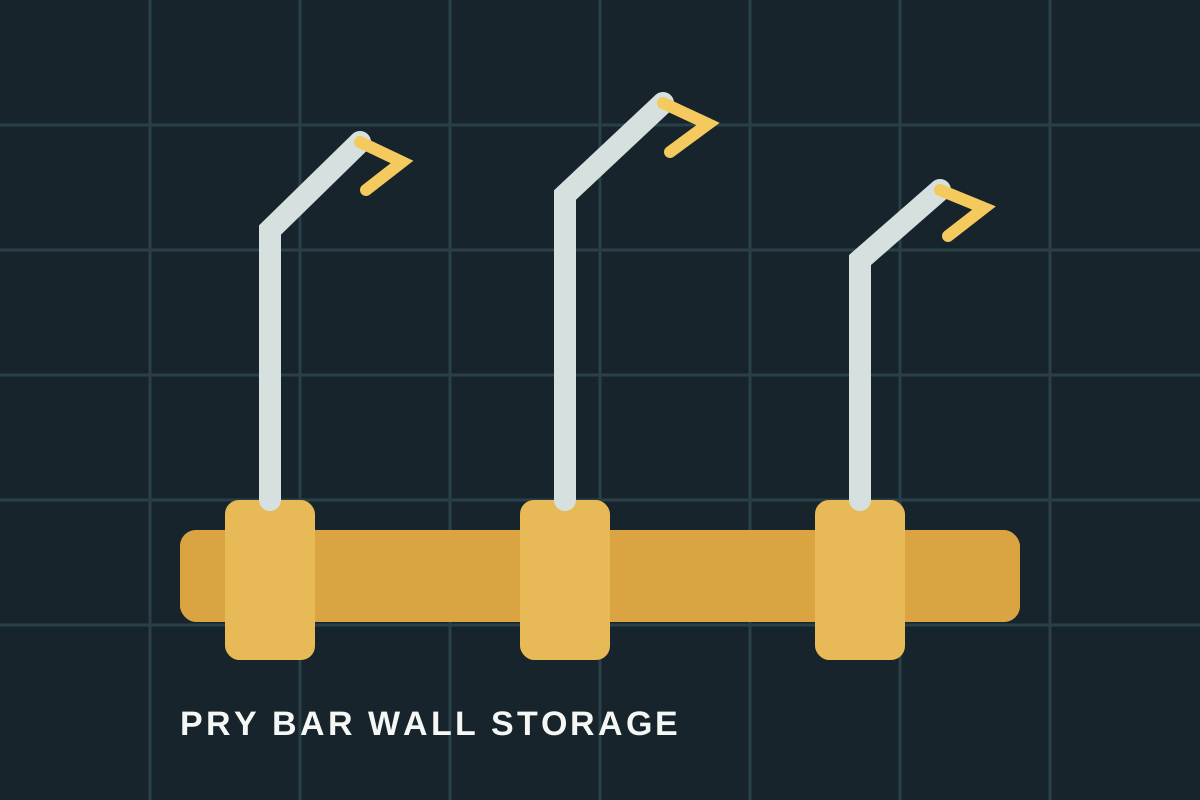
A pry bar is useful precisely because it is awkward: long, rigid, and often sharp at one end. Left on a bench, it steals working space and disappears under lumber; left leaning in a corner, it becomes a trip hazard. The best wall holder under $50 keeps the bar's working end contained, leaves the handle visible, and lets you put it away without moving three other tools.
Shop pry bar wall holders under $50 on Amazon
Who this is for
- DIYers who keep wrecking bars, trim bars, or cat's paws beside a garage workbench
- Small garages where a slim vertical rack is safer than a floor-standing tool corner
- Remodelers who want a dedicated place for pry bars without committing to a full wall system
Quick answer
For most garages, choose a steel tool rack with a deep enough cradle or two separated contact points to stop a pry bar from rotating. A vertical holder is the most space-efficient option for one or two bars; a horizontal rail is easier to load when you have several sizes. Whichever style you choose, keep the curved or clawed end captured, mount into a stud or solid backer, and leave clearance for the bar to lift out without scraping nearby tools.
What to look for
Retention at the working end
A pry bar is not a broom handle. The claw, bend, or flattened tip can catch clothing and damage a wall if it is allowed to swing. Look for a pocket, lip, coated hook, or second support point that keeps the working end from wandering. Avoid a single shallow hook that leaves a long bar free to pivot.
Clearance for different shapes
Trim bars, wrecking bars, and nail pullers rarely share one profile. Measure the widest bar and the thickness of its bend before ordering. Open cradles and adjustable hooks are more forgiving than a narrow molded slot, especially if you expect to add a larger bar later.
Load path and hardware
The holder only works as well as its fasteners. A pry bar may be light on a scale, but pulling it free creates leverage and a sudden tug. Prefer a rack that spreads load across two screws, then use a stud or a plywood backer where possible. If you must use anchors, choose a type rated for the wall and the loaded holder, not just the empty rack.
Footprint and retrieval
Measure the full bar length, including the space needed to lift it out. Leave enough side clearance that the claw does not hook a neighboring handle or cord. A holder beside the bench is convenient; a holder behind a parked car door is not.
Quick comparison
| Product type | Best for | Typical price band | Why it wins |
|---|---|---|---|
| Two-point vertical tool rack | One to three long pry bars | Usually $18-$35 | Small footprint and controlled rotation |
| Horizontal heavy-tool rail | Several bars in different sizes | Usually $25-$45 | Fast loading with easy size visibility |
| Deep utility hook pair | A single bulky wrecking bar | Usually $12-$25 | Flexible fit when the hooks are well spaced |
| Pegboard cradle with support hook | An existing reinforced pegboard wall | Usually $15-$30 | Repositionable without adding a new rail |
Compare current under-$50 pry bar holders on Amazon
How to install and use it
- Lay out every pry bar you intend to store and measure the longest length, widest claw, and deepest bend.
- Mark a location beside the workbench or demolition area, outside vehicle-door and walking paths.
- Find a stud or install a solid backer wide enough for both mounting points; follow the rack maker's hardware and load instructions.
- Mount the holder level, then test it with the largest bar before filling the remaining positions.
- Store the clawed or flattened end inside the cradle, keep handles separated, and leave one position open if you expect the tool set to grow.
Common mistakes
- Hanging a long pry bar from one tiny hook so it swings into the wall
- Choosing a slot by handle diameter without checking the claw or bend
- Mounting a loaded rack to weak drywall anchors or an unsupported pegboard sheet
- Placing the holder where a vehicle door, sleeve, or extension cord can catch the bar
- Filling every position so a single tool cannot be returned without a wrestling match
FAQ
Can a pry bar hang from a regular utility hook?
Sometimes, but only when the hook is deep enough to retain the bar and the working end has a second point of support. A single shallow hook lets a long bar rotate and can leave the claw pointing into a walkway. A two-point rack is the safer default.
Should pry bars be stored vertically or horizontally?
Vertical storage saves the most wall space and works well for one to three bars, provided the lower end is captured. Horizontal storage is easier to sort when you have many sizes or unusually curved tools. Choose the orientation that gives you a straight, unobstructed lift-out path.
Do pry bar holders need to be mounted into a stud?
For a single light trim bar, a properly rated anchor may be adequate. For several steel bars or a rack that will be pulled on repeatedly, use studs or a solid backer. The extraction motion adds leverage beyond the static weight.
How far apart should the supports be?
Use the holder's instructions first, then place supports far enough apart to stop rotation without bending the bar against the wall. For a long bar, two widely separated contact points are better than two hooks clustered near the handle.
Browse the hub: Garage wall storage under $50 - all guides
Related guides
- Best Wrench Racks Wall Mount Under $50
- Best Garage Wall Organizers Under $50
- Best Chisel Racks Wall Mount Under $50 for Garage Workbenches
Bottom line
A two-point vertical rack or a deep, well-spaced hook pair is the best under-$50 starting point for most pry bars. Measure the claw, not just the handle; mount the holder to sound backing; and keep the working end contained. That turns a hazardous corner tool into a quick, repeatable grab beside the bench.