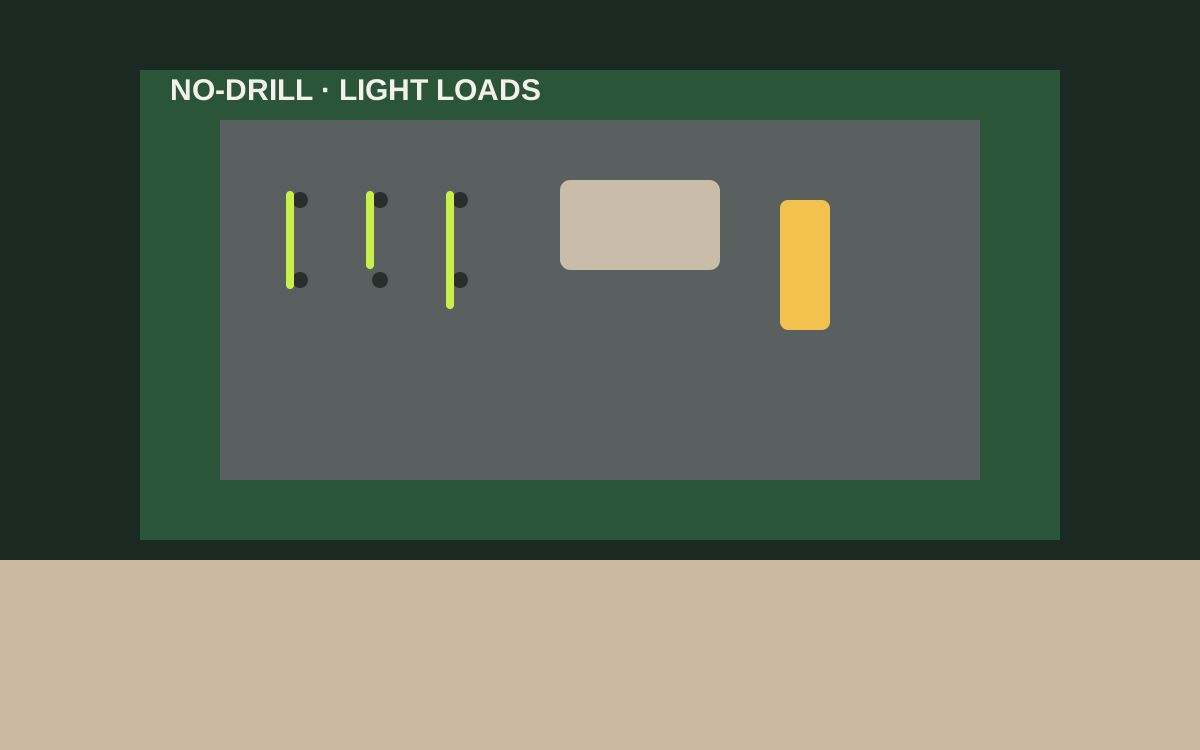
Mount a no-drill pegboard only on smooth, clean, cured paint or another surface the maker rates for adhesive, keep loads light, and treat the panel as a hand-tool zone — not a home for drills, saws, or ladders. Under $50, stick-on panels win for renters; switch to screwed, spaced pegboard on studs when weight or daily yanking grows.
Shop stick-on pegboard panels on Amazon
Who this is for
- Renters who need a light peg wall without landlord drama
- Garage owners testing a small tool zone before committing to studs
- Anyone comparing stick-on peg panels with traditional spaced pegboard under $50
What you need
- Stick-on or adhesive pegboard panel kit under $50 (hooks included when possible)
- Isopropyl alcohol or the cleaner the panel maker recommends
- Clean microfiber cloths and a pencil
- Painter’s tape and a level for dry-fit layout
- A fridge-magnet or small steel tool for a cautious first load test — keep heavy tools off the panel
Quick answer
Mount a no-drill pegboard only on smooth, clean, cured paint or another surface the maker rates for adhesive, keep loads light, and treat the panel as a hand-tool zone — not a home for drills, saws, or ladders. Under $50, stick-on panels win for renters; switch to screwed, spaced pegboard on studs when weight or daily yanking grows.
Quick comparison
| Approach | Best for | Typical price band | Why it works |
|---|---|---|---|
| Adhesive pegboard panel | Light hand tools, rentals | Usually $20-$45 | True no-drill starter |
| Screwed pegboard with spacers | Heavier, long-term shops | Usually $20-$50 | Stronger when drilling is allowed |
| Adhesive hooks only | A few ultra-light items | Usually $8-$20 | Less versatile than a panel |
| Over-the-door organizer | Temporary soft goods | Usually $15-$30 | Not a tool peg wall |
What to look for
Surface decides success
Adhesive pegboard hates chalky paint, heavy texture, dust, cold block, and peeling finishes. If the wall would defeat a sticky hook, it will defeat a panel.
Respect the load ceiling
No-drill panels are for light hand tools and accessories. Cordless drills, saws, and long-handled tools belong on studs or rails.
Hooks need seating room
Some stick-on panels are thinner than classic pegboard. Confirm the included hooks lock in your panel thickness before filling the wall.
Plan removal day
If you rent, follow the maker’s removal steps. Expect possible paint lift on weak finishes even with “damage-free” claims.
Before you stick anything
Read the panel’s surface list
If your wall type is not listed, stop. Smooth painted drywall is the usual best case; dusty masonry is not.
Inventory honest loads
If most items are steel wrenches you yank daily, reconsider a magnetic bar on screws or a stud-mounted rail instead.
Dry-fit the panel
Tape the panel up, check door swing and bumper paths, and mark level lines before peeling adhesive.
Mounting steps (no drill)
- Clear the wall zone and wipe away dust, grease, and cobwebs.
- Clean the mounting area with the maker’s recommended cleaner (often isopropyl alcohol) and let it dry fully.
- Confirm room temperature meets the adhesive’s install range — cold garages can kill bond strength.
- Level and tape a light outline of the panel. Step back and check clearance for car doors and walkways.
- Peel and apply the panel (or adhesive pads) exactly as directed, working from one edge to press out air bubbles.
- Wait the full cure time on the instructions before hanging anything. Early loading is the most common failure.
- Install a few light hooks and hang the lightest tools first. Tug gently; if the panel creeps, remove tools and reassess.
- Keep a written load limit on the panel edge if helpful: light hand tools only, no drills or saws.
Safety and limit notes
Know when to quit no-drill
If you need hanging power tools, yard tools, or dense steel kits, drill into studs or choose a different system. Adhesive is not stubbornness fuel.
Humidity and seasons
Garage temperature swings stress adhesive. Recheck the panel after the first cold snap or heat wave.
Removal caution
Warm and stretch adhesive strips per instructions. Do not pry a stuck panel with a chisel through soft paint unless you accept touch-up work.
Mistakes to avoid
- Sticking a panel to dusty, chalky, or freshly painted walls that have not cured.
- Hanging cordless drills, saws, or ladders on no-drill pegboard.
- Loading hooks before the adhesive cure time ends.
- Ignoring hook compatibility with thin stick-on panels.
- Assuming “damage-free” means zero risk on weak rental paint.
Related guides
Browse the hub: Garage wall storage under $50 - all guides
Related hub: Apartment no-drill storage under $50 — primary hub for adhesive and rental-friendly layouts.
- Best Stick-On Pegboard Panels for Garage (No Drill) Under $50
- Adhesive Hooks vs Screw-In Hooks for Garage Walls Under $50
- Magnetic Tool Bar vs Pegboard for Small Garage Walls Under $50
FAQ
Can I mount pegboard in a garage without drilling under $50?
Yes for light hand tools on a smooth, clean surface using a stick-on panel kit, after full adhesive cure. It is not a substitute for stud-mounted pegboard when loads get serious.
How much weight can no-drill pegboard hold?
Only what the manufacturer states for ideal conditions — then reduce that expectation for dusty or temperature-swinging garages. Keep heavy and swinging tools off it.
Will adhesive pegboard damage rental walls?
It can lift weak paint even when removed carefully. Test a small area and follow the maker’s removal method.
When should I drill instead?
Whenever you need power tools, long-handled gear, or daily yanking loads. Screwed pegboard with spacers on studs is the durable upgrade.
Bottom line
No-drill pegboard is a light-duty rental tactic, not a full garage system. Clean and dry-fit the wall, cure the adhesive fully, hang only light hand tools, and upgrade to studs when the load outgrows the sticker. Under $50, honesty about weight beats a crowded panel that peels onto the floor.