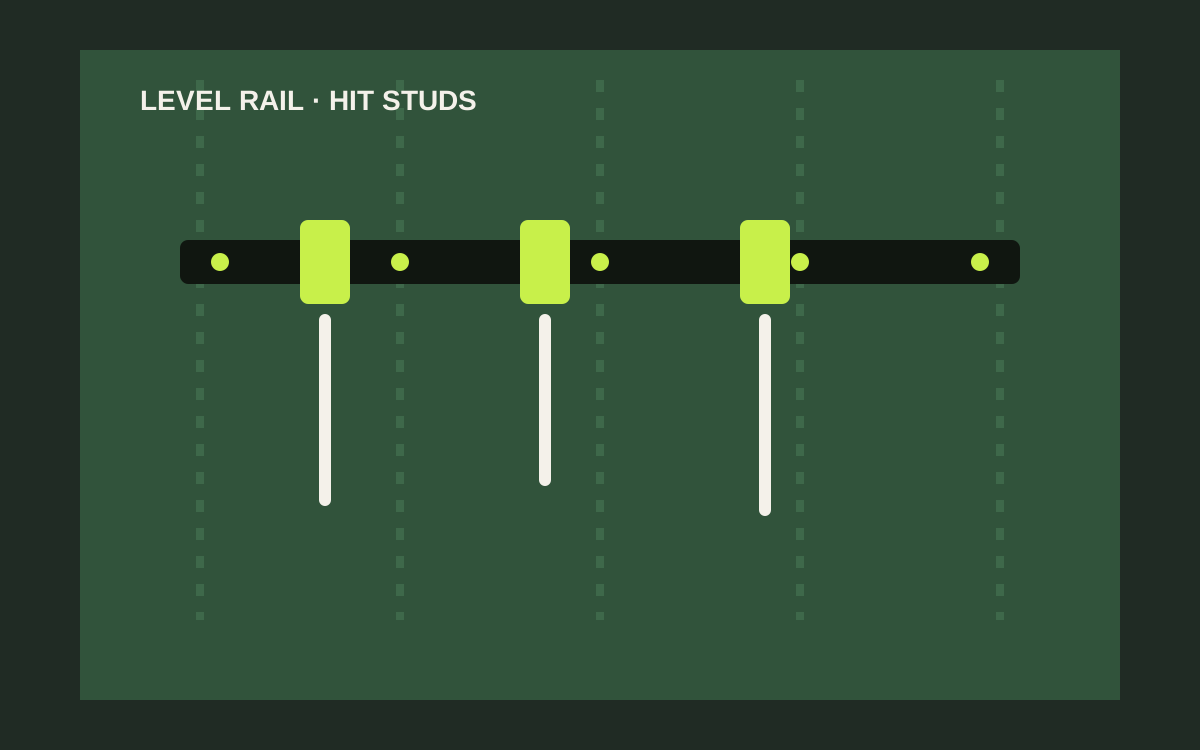
Install a garage track rail by landing it level across studs (or on rated masonry anchors), fastening every structural hole, then adding compatible hooks and load-testing the heaviest tool first. Under $50, a complete starter kit with hooks beats a bare rail you cannot use on day one.
Shop garage track rail starter kits on Amazon
Who this is for
- DIYers installing a first FastTrack-style or generic track rail under $50
- Homeowners who want sliding hooks for brooms, cords, and hand tools
- Anyone who read our FastTrack versus generic hooks guide and is ready to mount a rail
What you need
- Track rail starter kit under $50 (rail plus at least a few compatible hooks)
- Stud finder, tape measure, pencil, and level
- Drill/driver and bits matched to the supplied screws or lags
- Painter’s tape for layout
- On concrete walls: masonry bit and rated anchors instead of wood screws
Quick answer
Install a garage track rail by landing it level across studs (or on rated masonry anchors), fastening every structural hole, then adding compatible hooks and load-testing the heaviest tool first. Under $50, a complete starter kit with hooks beats a bare rail you cannot use on day one.
Quick comparison
| Approach | Best for | Typical price band | Why it works |
|---|---|---|---|
| Stud-mounted FastTrack-style starter | Most framed garages | Usually $25-$50 | Best under-$50 complete start |
| Generic rail + verified hooks | Budget expansions | Usually $20-$45 | Works when fit is real |
| Rail on masonry anchors | Concrete/block garages | Usually hardware adds cost | Correct on non-wood walls |
| Adhesive track substitutes | Light décor only | Usually N/A | Skip for real tool rails |
What to look for
Stud spacing awareness
Typical studs are 16 inches on center, but measure yours. A rail that only catches one stud needs a rethink or masonry-rated fastening plan.
Compatibility of hooks
Use hooks sold for your rail family. Generic hooks only after explicit fit is confirmed — see our FastTrack versus generic guide.
Level line first
Sliding hooks advertise a crooked rail. Take the level seriously before driving screws.
Day-one usability
Budget must cover hooks you will actually hang. An empty rail is not organization.
Before you mount the rail
Map studs along the full length
Mark centers and confirm the rail can hit at least two solid fasteners — more is better on longer rails.
Dry-fit hooks on the rail
Confirm the kit hooks lock and slide before you put holes in the wall.
Choose height for the longest tool
Brooms and cords need head clearance and floor clearance. Mock the tallest item.
Installation steps
- Clear the wall and locate stud centers along the planned rail run; note any odd spacing.
- Draw or tape a level reference line at the chosen height.
- Hold the rail on the line, mark every structural screw hole that lands on a stud (or planned masonry point).
- Pre-drill pilots into studs, or drill masonry holes and set rated anchors on concrete/block.
- Fasten the rail firmly. Recheck level after the first screws and adjust before finishing the row.
- Install two or three hooks and hang the heaviest planned tool. Tug the way you will in daily use.
- Add remaining hooks and tools only after the rail feels solid, with empty slots left for growth.
- Keep door swings and bumper paths clear of hanging handles.
Safety and spacing notes
Sixteen inches is a clue, not a law
Verify stud locations. Older garages and corners surprise people.
Concrete walls
Do not use wood screws into block. Switch to masonry anchors sized for the rail loads.
Brand mixing
If you buy generic hooks later, confirm channel fit. Our FastTrack versus generic article covers that decision.
Weight per hook
Respect each hook’s rating. A strong rail cannot save an undersized plastic slider.
Mistakes to avoid
- Mounting a rail that only kisses one stud and relies on drywall for the rest.
- Buying a rail with no hooks inside the $50 budget.
- Skipping the level and living with hooks that drift downhill.
- Assuming every generic hook fits a FastTrack-style channel.
- Hanging ladder-class loads on light hooks without checking ratings.
Related pick: Slatwall vs Track Rail (Trackwall) for Garage Storage Under $50
Related guides
Browse the hub: Garage wall storage under $50 - all guides
- Rubbermaid FastTrack vs Generic Garage Track Hooks Under $50
- Slatwall vs Track Rail for Garage Storage on a Budget (Under $50 Starter)
- Best Garage Track Rail Hooks Under $50
FAQ
How do I install a garage track rail under $50?
Level a starter rail across verified studs (or masonry anchors), fasten structural holes, add compatible hooks, and load-test the heaviest tool before filling the rail.
Does FastTrack need studs?
Yes for real tool loads on framed walls. Use rated masonry anchors on concrete. Do not trust drywall alone.
What if my studs are not 16 inches on center?
Measure and mark actual centers. Shift the rail height or length so fasteners hit structure rather than forcing a bad pattern.
Should I buy FastTrack-branded or generic hooks?
For a first kit, matched starters are simpler. For expansions, see our FastTrack versus generic hooks guide and verify fit.
Bottom line
A track rail under $50 works when the wall connection and hook compatibility are both honest. Hit real studs or masonry anchors, keep the rail level, prove the heaviest hang first, and leave empty slots to grow. Matched starter kits usually beat a bare rail and a guesswork hook pack.