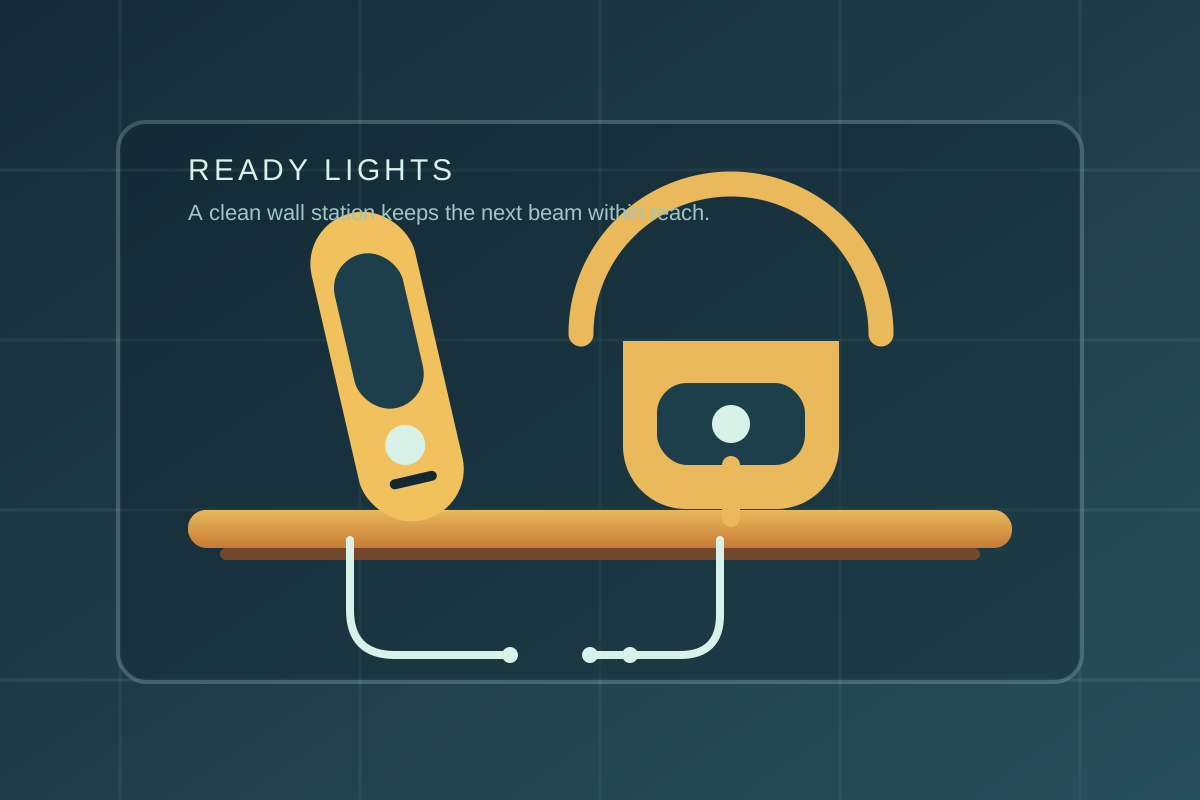
A flashlight charger earns its wall space when it makes the light easy to grab, easy to return, and visibly ready for the next power outage. The best under-$50 garage mounts are not just shelves: they hold a flashlight or headlamp securely, leave the charging port or cable accessible, and keep cords away from sawdust, damp floors, and door swings. For most garages, a ventilated shelf or dock with a separate cable-management point is the most flexible choice.
Shop flashlight and headlamp wall chargers under $50 on Amazon
Who this is for
- DIYers who want rechargeable flashlights and headlamps ready at the garage entry or workbench
- Small garages where a charging station must stay shallow and clear of vehicle doors
- Households comparing wall docks, charging shelves, pegboard cups, and cable clips under $50
Quick answer
Choose an open wall charging shelf or dock that fits the largest flashlight body and headlamp case you actually use. Keep the charger brick ventilated, route the cable with slack rather than a tight bend, and mount the station where a light can be removed without reaching across a car or bench. A molded dock is tidy for one model; an open shelf is safer when the household mixes brands and USB-C, micro-USB, or proprietary leads.
What to look for
Fit and retention
Measure the widest flashlight, the headlamp strap bundle, and any protective sleeve. A lip or divider should prevent a cylindrical light from rolling out, but it should not cover the switch, charge indicator, or removable battery door. Leave enough clearance to lift the light straight up.
Charging access and ventilation
The mount should expose the charging port and leave room for the connector to sit naturally. Keep power bricks and battery chargers in open air; avoid sealed cubbies that trap heat or force a cable against a sharp edge. Follow the charger and battery maker’s instructions rather than treating the rack as a charging safety device.
Cable control
A small cable notch, hook, or adjacent clip prevents the lead from falling behind the bench. Choose a route with a little service loop so the connector is not pulled sideways when the light is removed. Label mixed cables if several devices share the station.
Mounting and placement
Use a stud, plywood backer, or properly rated anchors for the rack and the repeated pull of daily use. Place it near the garage entry, workbench, or emergency kit, away from water, fuel, solvents, and a vehicle-door arc. Keep the station visible enough that a forgotten light is obvious.
Quick comparison
| Product type | Best for | Typical price band | Why it wins |
|---|---|---|---|
| Open charging shelf with cable clips | Mixed flashlights and headlamps | Usually $20–$40 | Most adaptable when bodies and cables vary |
| Molded flashlight wall dock | One compatible rechargeable light | Usually $20–$45 | Fast grab-and-return routine with a tidy footprint |
| Pegboard cup plus charging lead | Existing reinforced pegboard | Usually $10–$25 | Low-cost storage that moves with the station |
| Small shelf with dividers | Family or emergency-light station | Usually $25–$50 | Separates lights, spare cells, and headlamp straps |
Compare current under-$50 picks on Amazon
How to install and use it
- Inventory every light, charger, cable, and battery case; measure the largest body and the connector clearance.
- Choose a visible wall outside splash zones, fuel storage, and vehicle-door paths; mark a stud or install a solid backer.
- Mount the shelf or dock level, then test each light unplugged so switches, straps, and battery doors remain accessible.
- Route each lead with a loose service loop, keep power bricks ventilated, and label cables that are not interchangeable.
- Charge only as directed by the light and battery maker; periodically inspect connectors, cables, and the mount for heat or damage.
Common mistakes
- Buying a molded dock before checking the flashlight body, charging port, and protective sleeve dimensions
- Packing a charger brick into a closed box with no ventilation or leaving a cable kinked behind the rack
- Mounting the station where a car door, ladder, or wet garden gear can strike it
- Treating a storage rack as permission to charge damaged, swollen, wet, or incompatible batteries
FAQ
Can any flashlight wall mount charge the light?
No. A wall rack can store a light, but charging compatibility depends on the light, battery, connector, and charger. Confirm that the dock or cable is made for the specific model, and follow the maker’s charging instructions.
Is it safe to charge a headlamp on a garage wall?
It can be, when the light and charger are in good condition, the setup follows the maker’s instructions, and the station is dry, ventilated, and away from fuel or other combustibles. The wall mount itself does not make an unsuitable charger safe.
Should a flashlight charging station be mounted near the garage door?
Often, yes: the entry is convenient for emergency lights and usually offers a clear view. Keep the station outside the door’s swing, away from rain and condensation, and high enough that cords cannot become a trip hazard.
Are open shelves better than molded flashlight docks?
Open shelves are more flexible for mixed brands and headlamp straps. A molded dock is neater when every light is compatible, but it can become obsolete when you change models or connector types.
Browse the hub: Garage wall storage under $50 — all guides
Related guides
- Best Battery Charger Wall Mounts Under $50 (Charging Station Shelves)
- Best Safety Glasses Racks Under $50 for Garage PPE Storage
- Best Garage Wall Organizers Under $50
Bottom line
A wall charging station under $50 is worthwhile when it matches the lights you own, keeps cables relaxed, and makes safe charging and quick retrieval part of the same routine. Choose an open shelf for mixed gear or a compatible dock for one model, then mount it where the next flashlight is always within reach.